Sunday, July 13, 2014

DIY Concrete Tree Stump Birdbath

Well, I didn't even think this was post worthy until it was done. Then I realized what an amazing thing I just did. So my apologies for not having a step by step in pictures. I will say however that the work is pretty self explanatory.

I had this tall tree stump right in my front yard. Once upon a time it was a great cherry tree. Did I say great? I meant great big mess! Who puts a cherry tree by their front door. If it wasn't cherries being tracked into my house, it was the swarm of bees in the spring and then bird poop all summer. Constant pain. After a whole summer of making the hubs power wash our walk way he finally agreed to cut it down. Yay!

Except now I have this awkwardly tall tree stump that is determined to come back to life. All this summer I have been pruning away at growth from the stump. In it's future life it will be an amazing bar height table to accompany the built in front deck we will one day have. Until then, I must think of something.. .... ...

I couldn't be more pleased with the turn out. It was actually very simple to do. 

1. I uses plastic landscape edging and taped it together to make a large ring. 
2. I then took a trash can lid and placed it inside.
3. I placed them both into a big hefty bag.
4. I mixed up two 50 lb bags of quick concrete
5. Poured it on top of the hefty bag with the mold inside.
6. Let sit. (could have flipped over and placed in 48 hours but needed some muscle. So about a week later my brother and hubs put it in place. 
7. filled with water. Voila!


Tuesday, July 8, 2014

Vintage Suitcase Table

For the record this ended up being a lot hardy than it looked. Originally we wanted the legs to attach directly to the suitcase (because it would look like an actual table) but due to complications we did what we could.


We had the legs from our bar stool project left over and wanted to put them to good use. So the first set of legs were sawed off from their base and swivel mechanism. Then we tried to screw them into the suitcase.

Turned out very wobbly and wouldn't stay put. So the next set of legs I only took off the swivel mechanism and left the base and leg in tact. Then on the inside of the suit case we screwed it on. Only thing was, the screws didn't want to go all the way in.


This project is to be continued. I may have to refer to an expert (AKA my awesome handyman husband) So far, this is what it looks like....


Wednesday, June 25, 2014

Porch Swings from Barstools

What a rag tag bunch of chairs we found. Four to be exact. $20 bucks for all four off Craigslist.


 The nice thing is I didn't have to saw off the legs. I just unscrewed the attached swivel components. 


Voila! A perfectly good seat for a swing. We cleaned them up, had the hubs drill some holes.


 Then we primed them with a primer called gripper. I read that it was the best. 
So heck, lets give it a whirl. 


Ok all primed and ready for the next step. We have some blue and orange paint that I think will be perfect. It's mostly Krylon spray paint that we picked up at a garage sale down the street, but we also use Rustoleum (And the beers are a must, so is the bikini top I wore in the hot sun. A tan and a project is technically multi-tasking)


Sunday, June 22, 2014

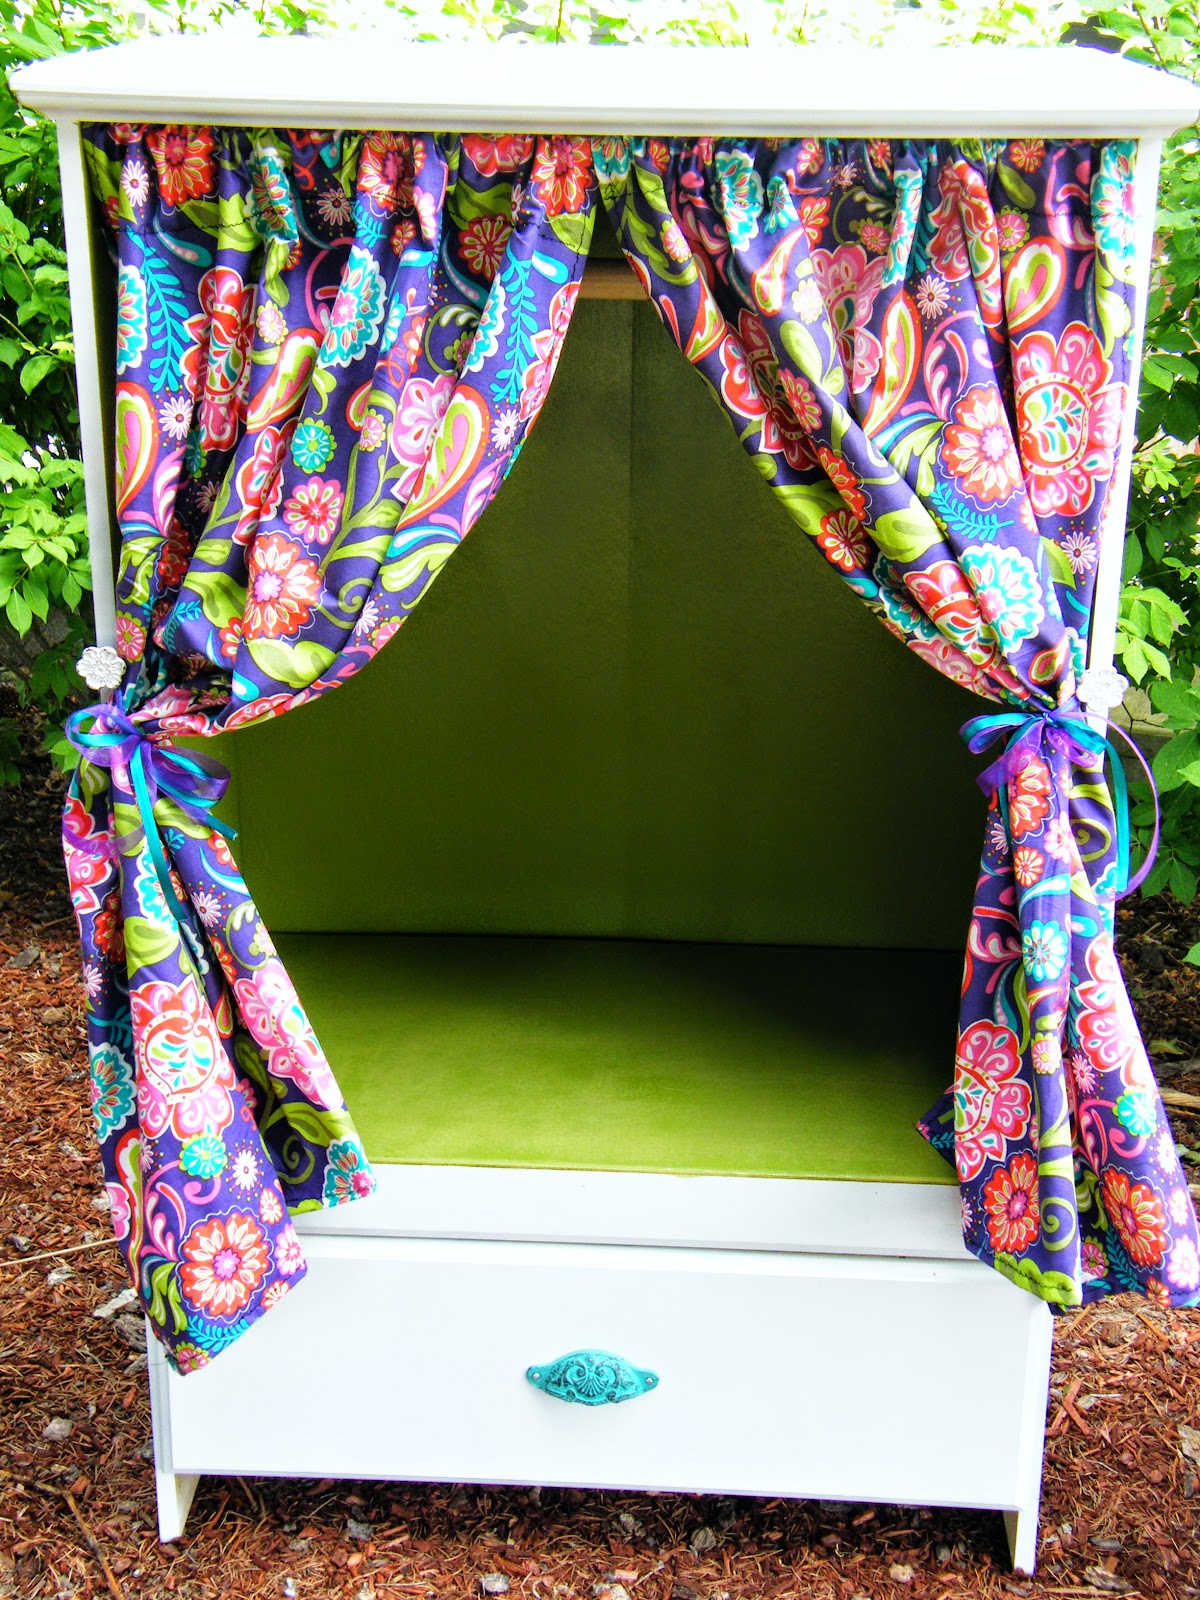
Upcycled dresser to dress up closet and bench

Well it took four weekends and more time than I thought, but we finally finished out first upcycled project. It cost $75 in materials, but was well worth it. Turned out so adorable! An old dresser with a missing drawer on Craigslist for FREE!  It is truly one of a kind. It became the cutest little girl dress up closet I have ever seen. And I have looked, because I wanted to ask the right price.